If you are using Android Studio for app development and testing, you might want to use the default Emulator which comes along with it. Although, you can also connect a physical Android device and test the app on the actual Android device. If your app requires the internet and you are using the Android Studio Emulator, then in some cases, you might have noticed that the Emulator would not connect to the internet even though you have enabled the data connection and/or Wi-Fi. If you are facing this issue, what should you do to enable internet on the Android Studio Emulator. In this post we shall see how to enable internet on the Android Studio Emulator.
Suppose you are working on an Android App in Android Studio which need to connect to the internet. When you run the app in Android Studio, the app is launched in the Emulator but you get ‘ERR_NAME_NOT_RESOLVED’.
For the Emulator to connect to the internet, the Emulator gets DNS setting from a host Network Adapter. If the Emulator is unable to access the internet, it’s likely that it is picking the wrong Network Adapter from the host system.
How to check if you get internet on the Android Studio Emulator?
To confirm if you have access to the internet in the Emulator, you can check the network icon just like on your physical Android device. The data connection will have a cross mark ‘x’ if it does not have access to the internet.
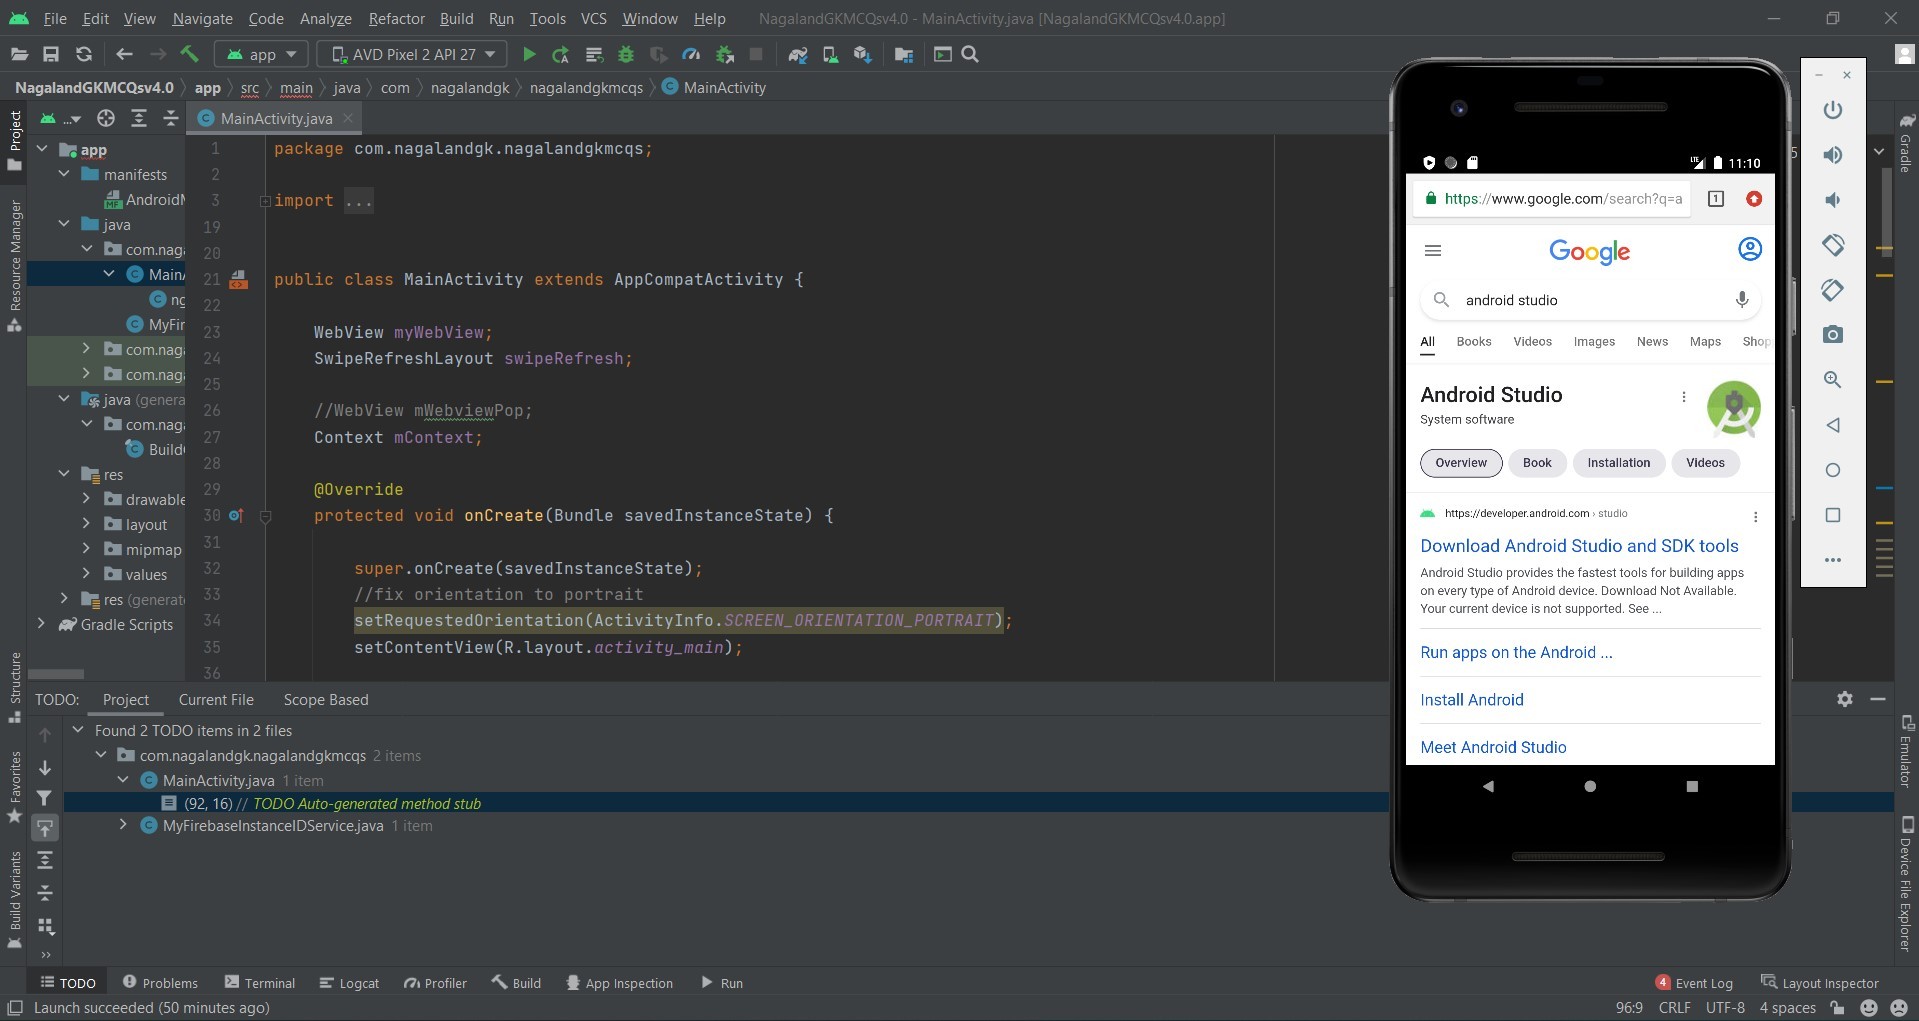
Another way to confirm is to open Google Chrome browser on the Emulator and try accessing google.com.
This will confirm whether you have access to the internet or not.
How to enable internet on the Android Studio Emulator?
After you confirm that there is no internet access on the Android Studio Emulator, take the following steps to enable internet on the Android Studio Emulator.
On Windows:
- Go to Control Panel\All Control Panel Items\Network Connections.
- Click on Ethernet or WiFi (Whichever you are connected to).
- Right-Click on the network adapter which you are connected to > Click on Properties.
- A dialog box will open. Double click on Internet protocol version (TCP/IPv4) option.
- Click the radio button “Use the following DNS server addresses”
- Enter as 8.8.8.8 in Preferred DNS server: and 8.8.4.4 in Alternate DNS server.
- Click Ok > Ok and exit.
Now run the Android Studio Emulator again.
You should get internet on the Android Studio Emulator.
Google Public DNS IP addresses
For IPv4: 8.8.8.8 and/or 8.8.4.4.
For IPv6: 2001:4860:4860::8888 and/or 2001:4860:4860::8844
If you want to do the same for IPv6, use the above DNS addresses.
On MacOS:
To enable internet on Android Studio Emulator on MacOS:
- Open System Preferences
- Go to Network > WiFi > Select Advanced
- From Advanced, Choose DNS tab
- Add DNS Server 8.8.8.8
- After that close the emulator (if already open) and start it again.
After the above network changes, you can simply test access to internet by opening Google Chrome browser on the Emulator and try accessing google.com. The google page should open just fine.
Alternate Solutions / Workarounds you may try:
1) If you are on a laptop which has both WiFi and LAN card, but you are using WiFi…
On some online forums, it is suggested to disable the LAN card and then update the Google DNS 8.8.8.8 on the WiFI adapter. This apparently worked for some users. So, if the above steps did not work for you, you may also try this.
Go to your Network connections, find your LAN card, right click on it and choose disable.
Update the Google DNS on the WiFi adapter (follow the steps above).
Now try your emulator.
2) start emulator from command prompt with DNS server address parameter
On Windows the emulator is located at “C:\Users\james\AppData\Local\Android\Sdk\emulator”
Open Command Prompt and go the the path above
Type the command emulator -list-avds. This will list out the AVDs present.
They type the command emulator -avd Pixel_4_API_27 -dns-server 8.8.8.8,8.8.4.4
If you were facing a similar issue and resolved it, please let us know in the comments.