Web Push Notifications is one way to increase user engagements by alerting visitors of new content. It lets visitors to keep visiting your website and increase traffic. In this post, we will see how to send web push notifications by using OneSignal WordPress plugin.
OneSignal is a useful WordPress plugin to increase user engagement. OneSignal sends targeted push notifications so they keep coming back to your website when they are alerted of new content posted on your website. We’ll see in a few moments. After setup, visitors will be alerted if they want to opt-in to receive push notifications when you publish a new post. Visitors receive these notifications even after they’ve left your website, thus driving re-engagement.
If you are looking to implement web push notification for your WordPress website, OneSignal plugin is a good choice. It is easy to implement. OneSignal offers free plan which allows targeting up to 10,000 subscribers with push notifications. Check out pricing for premium features here.
OneSignal – Web Push Notifications
How to enable Web Browser Push Notifications in WordPress Website using OneSignal Plugin?
How to install the OneSignal Web Push Notification Plugin in WordPress Website
- Go to WordPress Dashboard > Plugins > Add New
- Search for “OneSignal”
- Click on Install > and Activate
- After activation, there will be a menu item added to the WordPress Admin Sidebar by the name “OneSignal Push” > Click on it.
It will take you to the Configuration page where you need to enter App ID and REST API Key. For these details, you need to create an account on OneSignal or log in to your existing account if you already have one created.
On OneSignal Website, do the following:
- Log in to your account on OneSignal website, click on ‘Add App/Website‘ button.
- Provide a name for the app or website
- Choose a platform.
In this scenario, we are choosing ‘Web’ (Browsers).
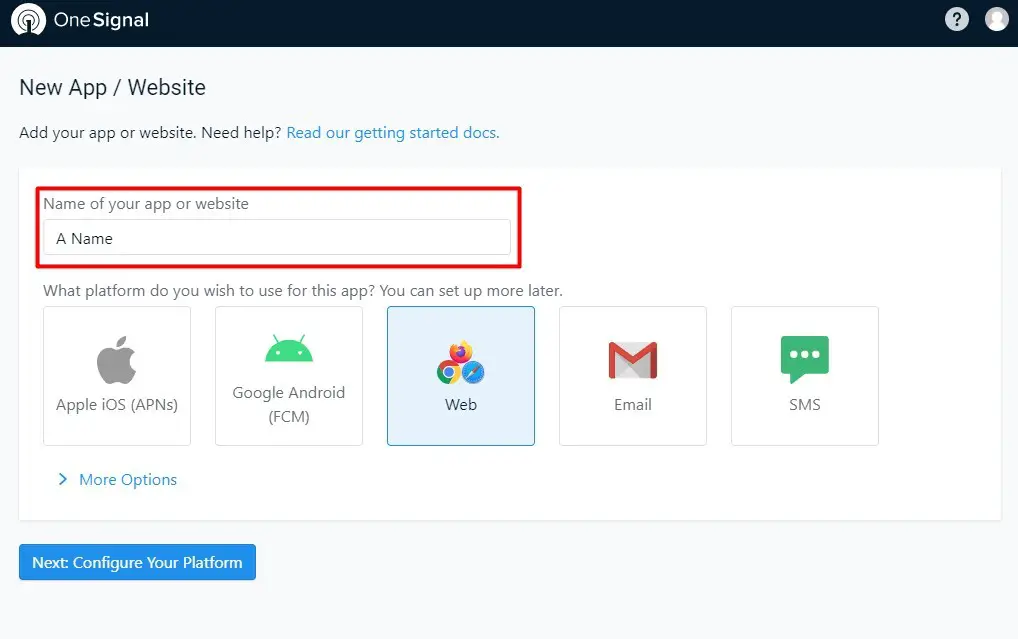
- Click ‘Next: Configure your platform’ – this will take us to the ‘web configuration’ page.
Options available: Typical Website, WordPress Plugin or Website Builder or Custom Code. - Select ‘WordPress Plugin or Website Builder’ if you are setting up the OneSignal for websites running WordPress, Shopify, Blogger, Magento, Drupal, SquareSpace, Joomla, Wix, and other CMS platforms.
We are selecting WordPress in this example. - After this, we need to provide the website name, URL, and default icon – which, you can either upload or provide the URL to the image.
- Click Save
The APP ID and API Key will be displayed.
- Copy the App ID and REST API Key to a notepad.
- Click Finish.
On WordPress website:
- Go back to the WordPress website, click on ‘OneSignal Push’ from the WordPress dashboard sidebar.
- In the subsequent page, click on Configuration tab.
- Enter the App ID and REST API Key copied from OneSignal APP / Website setup.
- Next, in the Configuration Page, select options as you desire such as:
- Use the post’s featured image for the notification icon
- Notification Title
- Send notifications additionally to iOS & Android platforms
- Prompt Settings & Subscription Bell
- Automatically prompt new site visitors with OneSignal Slide Prompt before Native Browser Prompt (recommended) – this will show OneSignal Prompt first and then the native browser prompt
- Enable the Subscription Bell – Displays the OneSignal bell icon on screen
- Show the OneSignal logo on the Subscription Bell dialog
- Customize the Subscription Bell text
- Customize the Subscription Bell offset position – If the bell icon interferes with other elements on the page (such as Go To Top icon), then adjust the position of the other elements or, enable this option and adjust the offset position of OneSignal Subscription Bell.
- Customize the Subscription Bell theme colors
- Size and position of the Subscription Bell
- Customize Subscription Bell Text
- Customize the Prompt text
- Automatic Notification Settings
- Automatically send a push notification when I create a post from the WordPress editor
- Automatically send a push notification when I publish a post from 3rd party plugins
- After you are done with the settings and customization, click SAVE
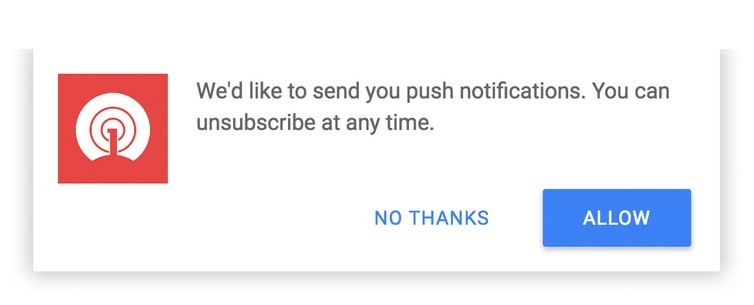
Now, open your website and check. You should receive a push notification asking you to opt-in for notifications. If you allow, you will receive notifications on new content in the web browser. You will also see a bell icon on the screen, which is at the bottom right corner by default.
To further customize the position, text message etc., you can do so from WordPress sidebar > ‘OneSignal Push’ > Configuration tab.
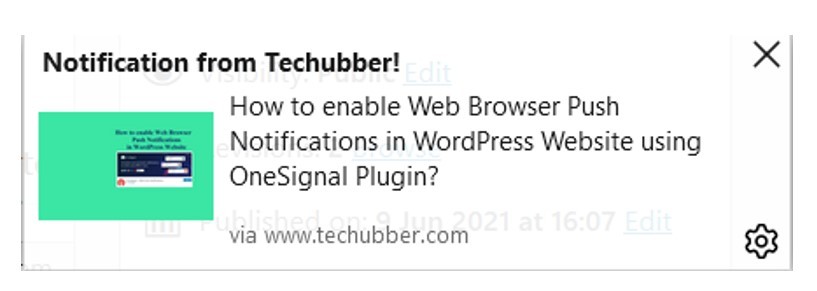
Push notification on new content looks like this:
How to view statistics of OneSignal web push notifications?
OneSignal WordPress plugin does not show statistics within the WordPress dashboard. To view statistics, you can log in to your OneSignal account at https://app.onesignal.com. If you have multiple accounts setup, click on the one you want to check. In the OneSignal dashboard, you can view number of subscribers, monthly active users etc.
You can also send messages through the dashboard. Click ‘New Push’ to compose a new push notification, which you can send immediately or schedule it.
You can also view segments from ‘Audience’ tab.
You can also setup additional platform for the app from ‘Settings’ tab.
# How to enable web push notifications for WordPress website
# OneSignal web push notification plugin for WordPress
# WordPress Plugin for web push notification